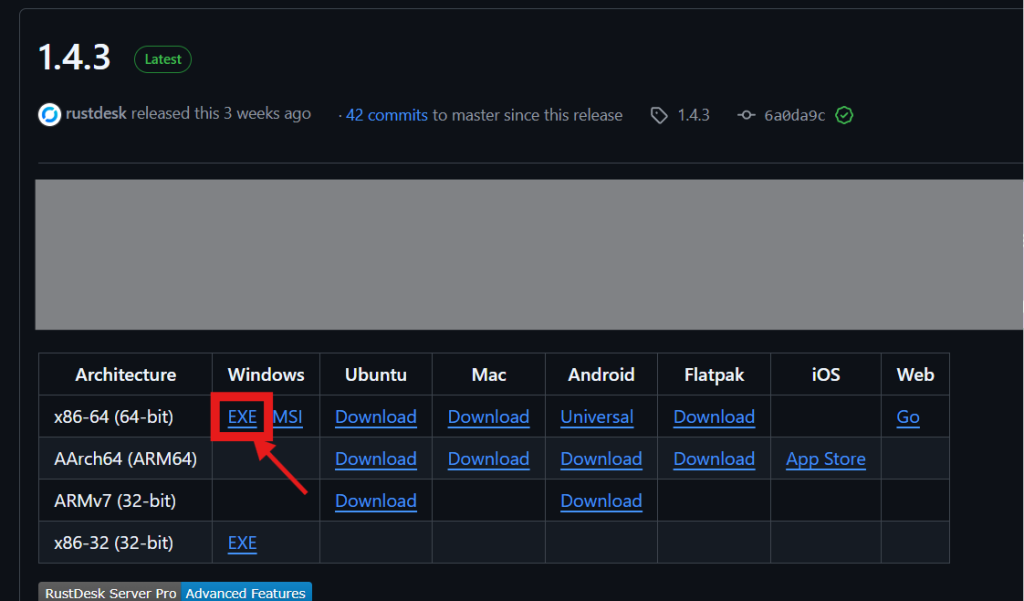
Step 1: Download and Install RustDesk
- Go to the release page:
RustDesk: Open-Source Remote Desktop - Download the
.exefor Windows. - Run the file, and when it opens, click the magenta-colored “Install” area on the right to install the app.
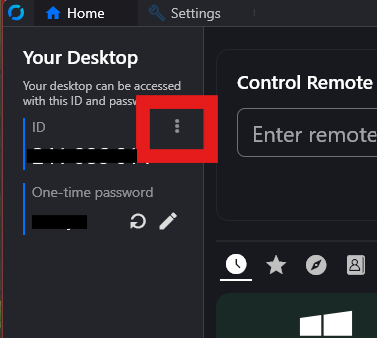
Step 2: Configure the Host
- After installation, open RustDesk.
- Click on the “…” (three dots) on the left side.
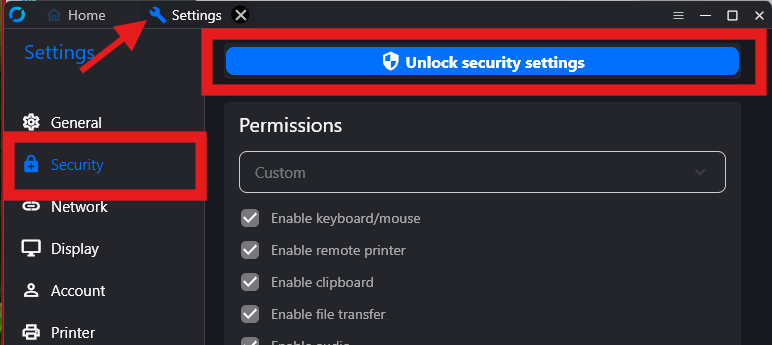
Step 3: Adjust Security Settings
- Go to the Security section in the left sidebar.
- Click “Unlock security settings”.
- Scroll to the Password section.
- Set it to “Use both passwords”.
- Set a strong secure password for remote access.
- 2FA is optional, but recommended.
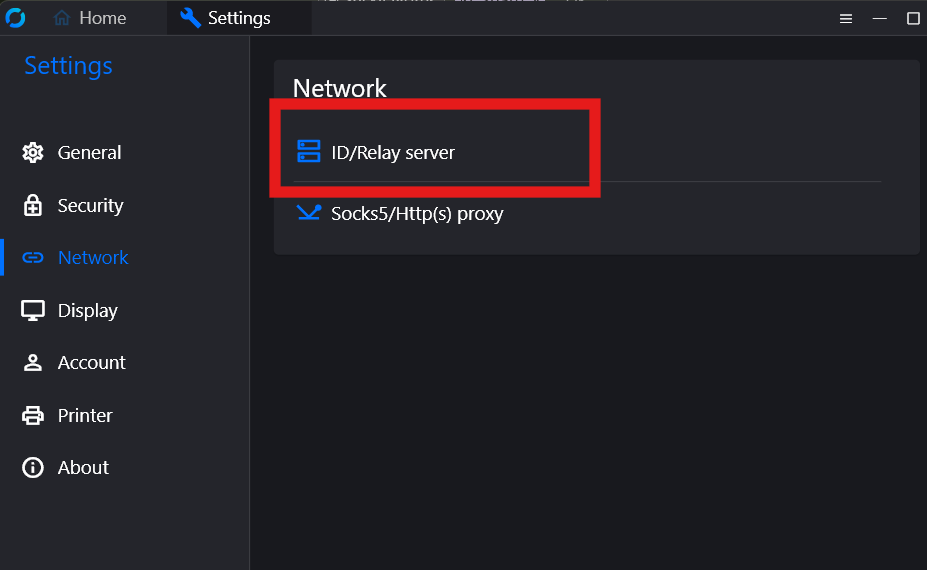
Step 4: Configure Network Settings
- Navigate to the Network section on the left.
- Click Unlock.
- Click ID/Relay Server
Step 5: Save the Host ID
- Copy the “Key” sent to you
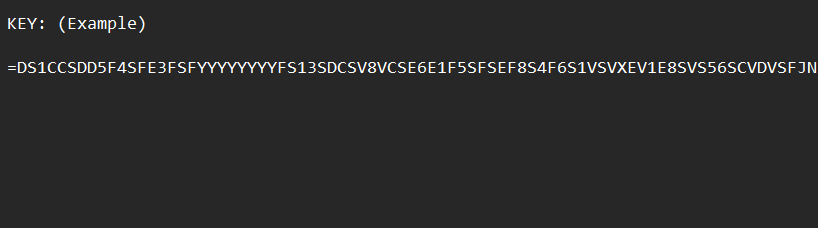
2. Refer back to the ID/Relay Server. Click the clipboard button to paste the “Key”.
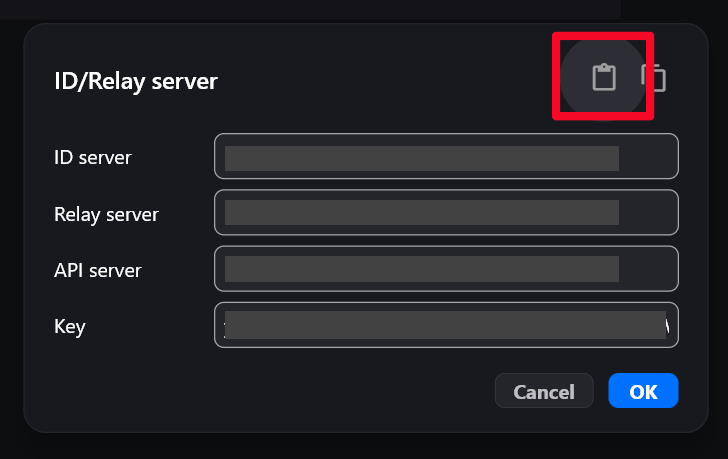
3. Click “OK” to save the information
Step 6: Complete
Kindly notify Techie Networks upon completion of the task, so that we can proceed with testing on our end.
Summary
- Host: Set up and configure RustDesk (including passwords and network key).
- Client: Install RustDesk, connect using the host’s ID.
- For better experience: Use RDP tunnel via RustDesk Favorites.